Follow along as we add a new building to the layout. Most of us have not constructed a Downtown Deco kit before, so we are figuring it out. We love a new challenge.
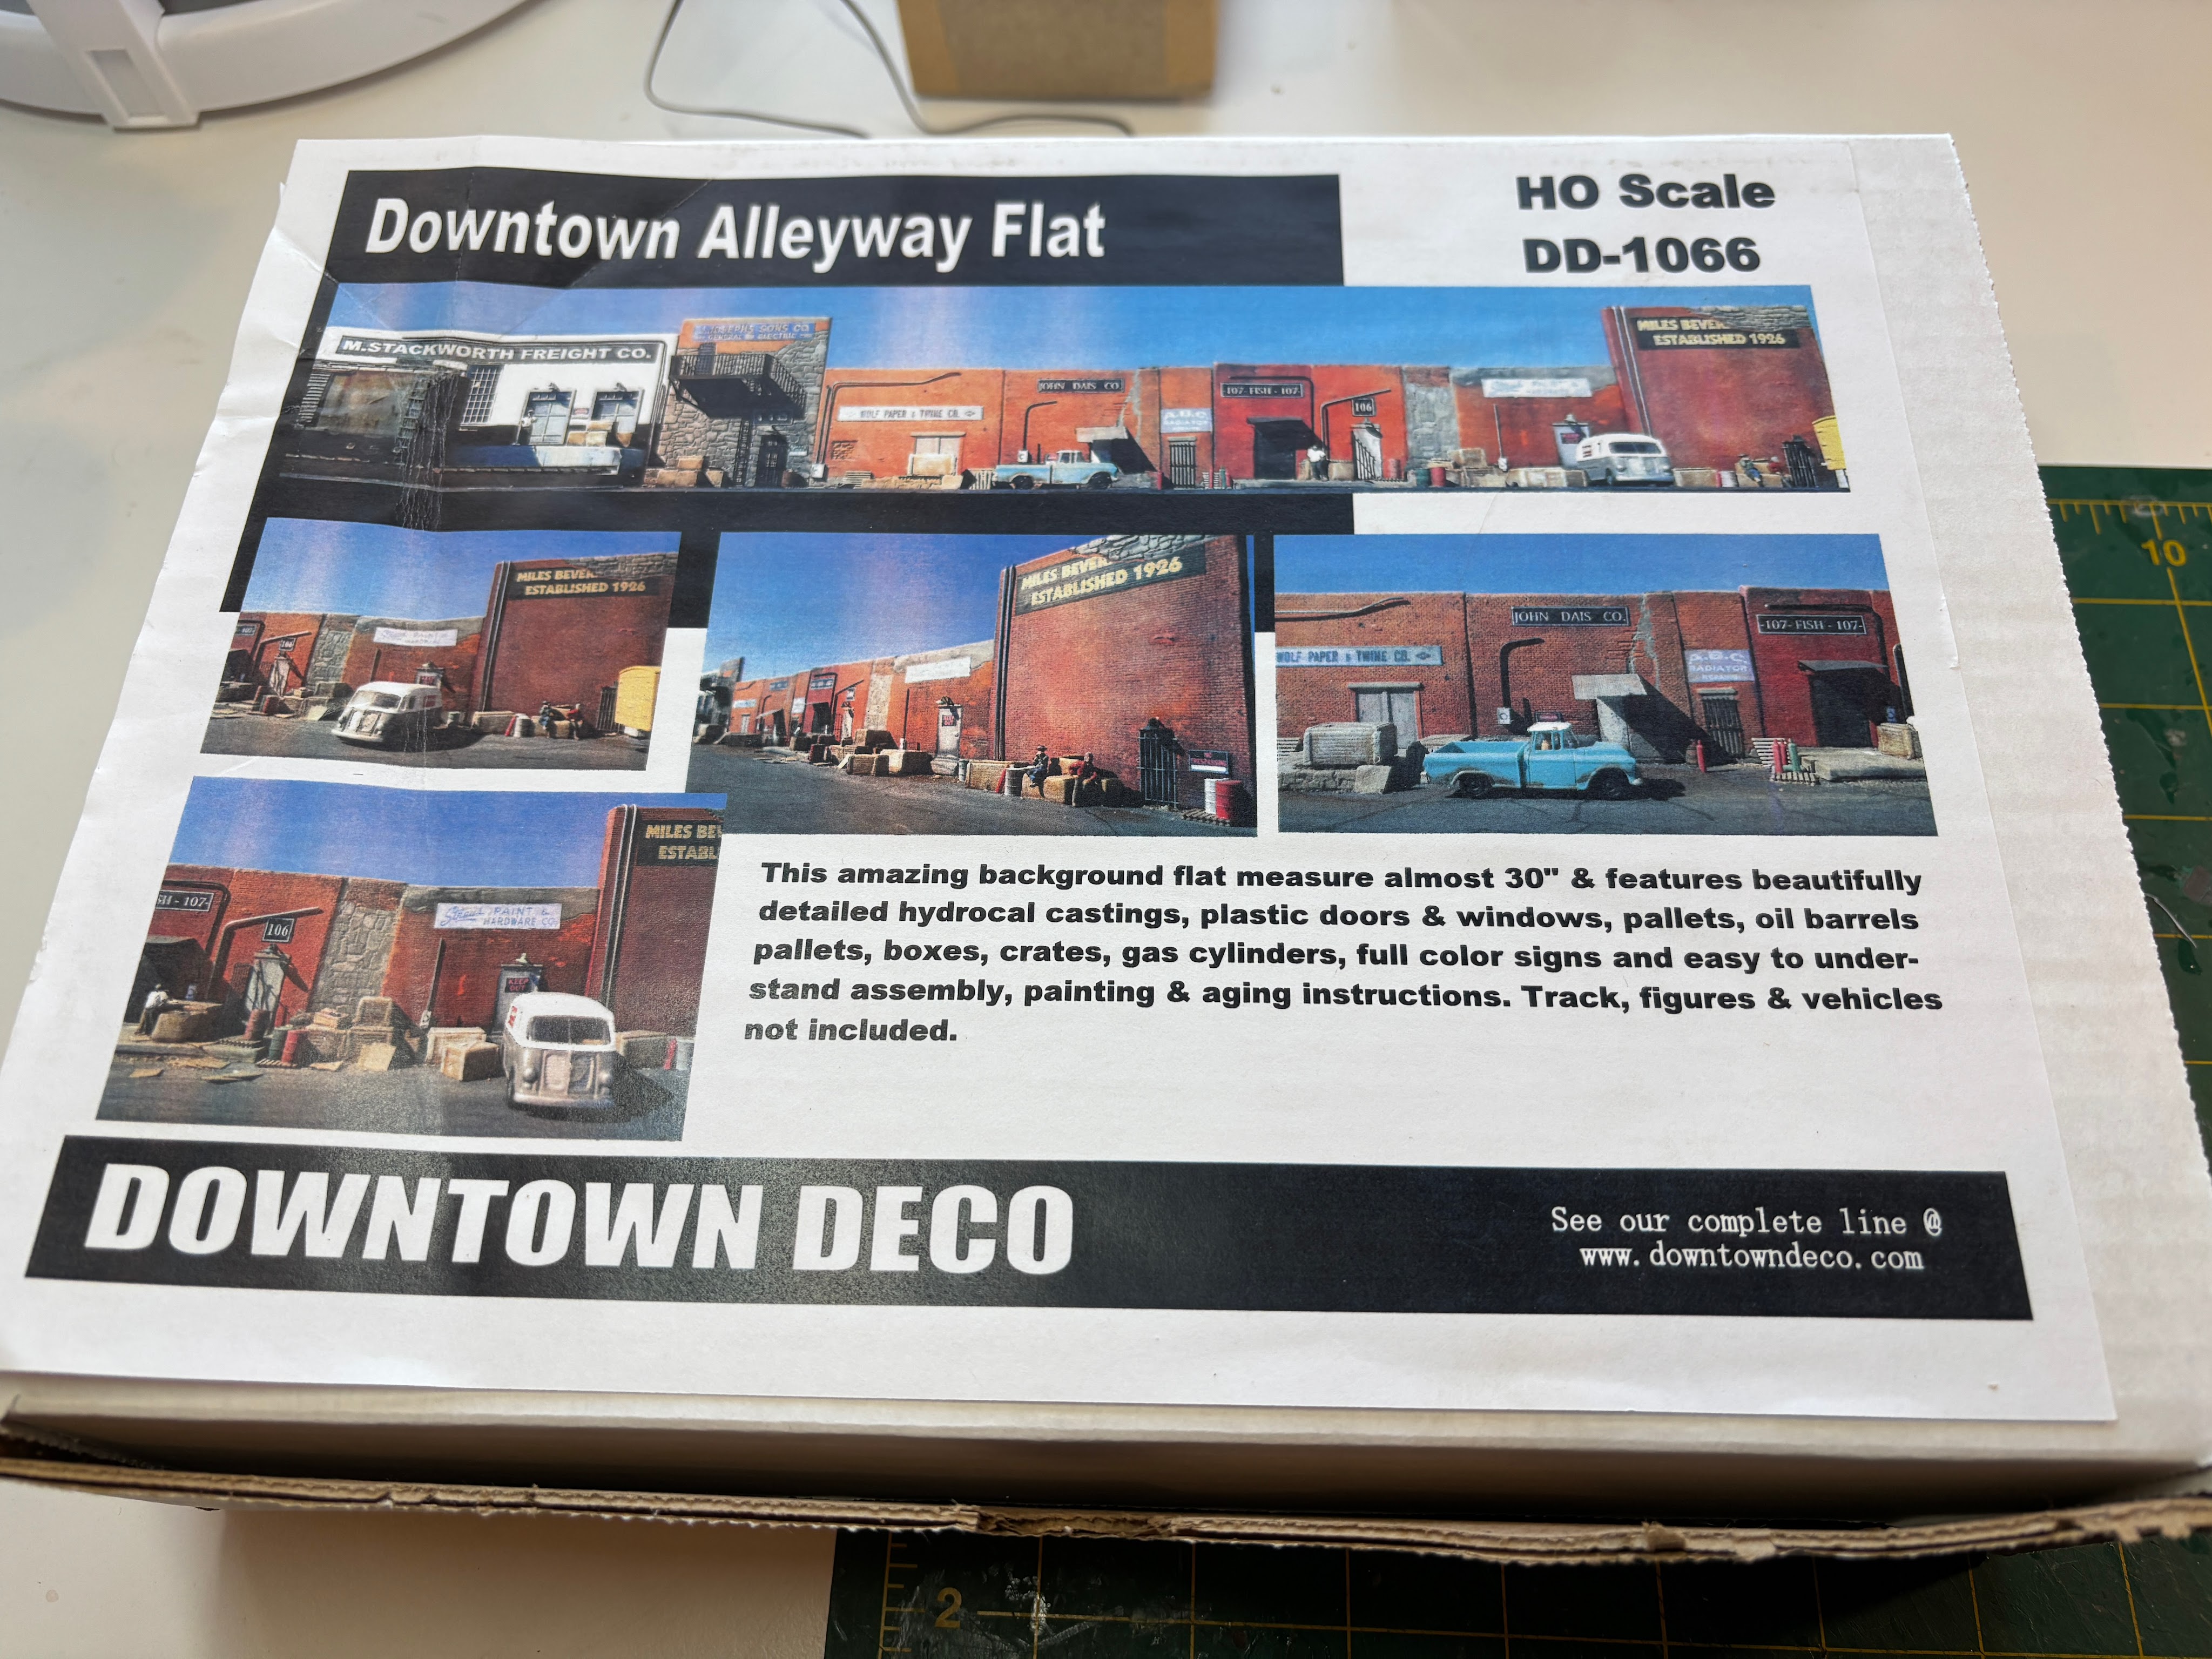
This kit will be added to the Beaver Falls area of the layout, where we need a few background buildings.
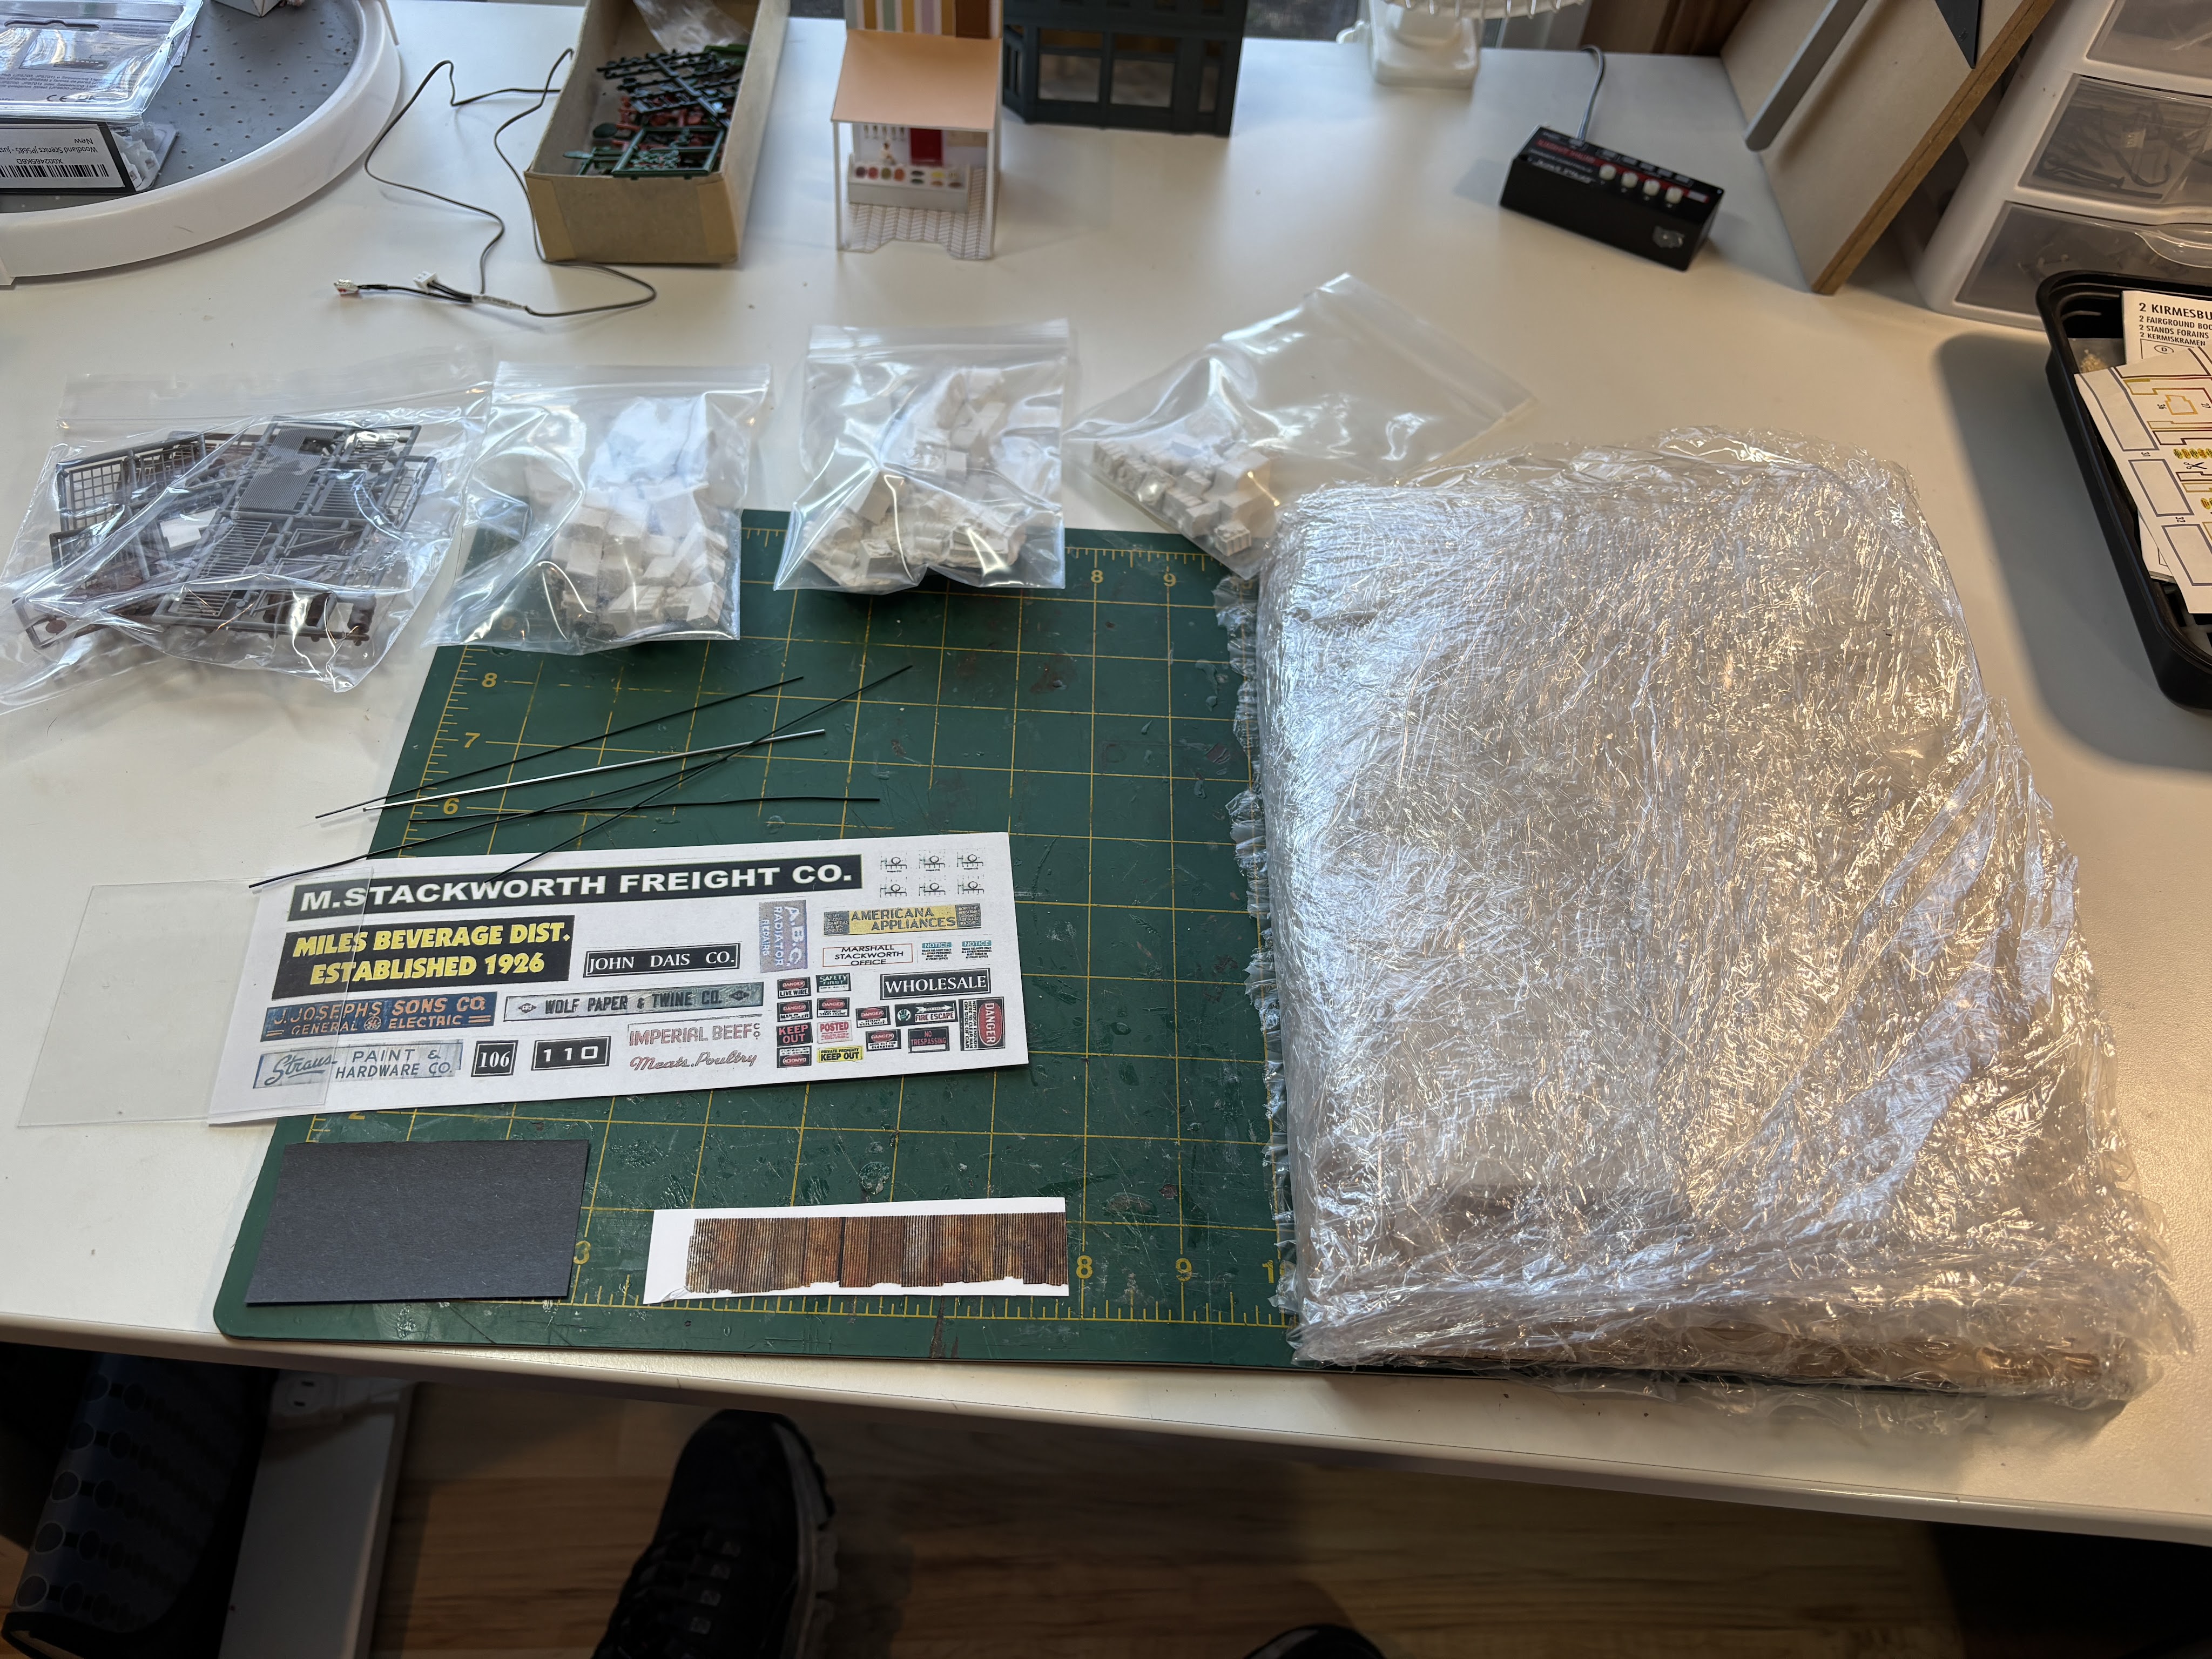
This is how the kit comes packaged. Lots of bubble wrap to protect the plaster wall sections, some bags of plaster detail parts, a bag of styrene doors and windows, some wire and printed signs for the businesses.
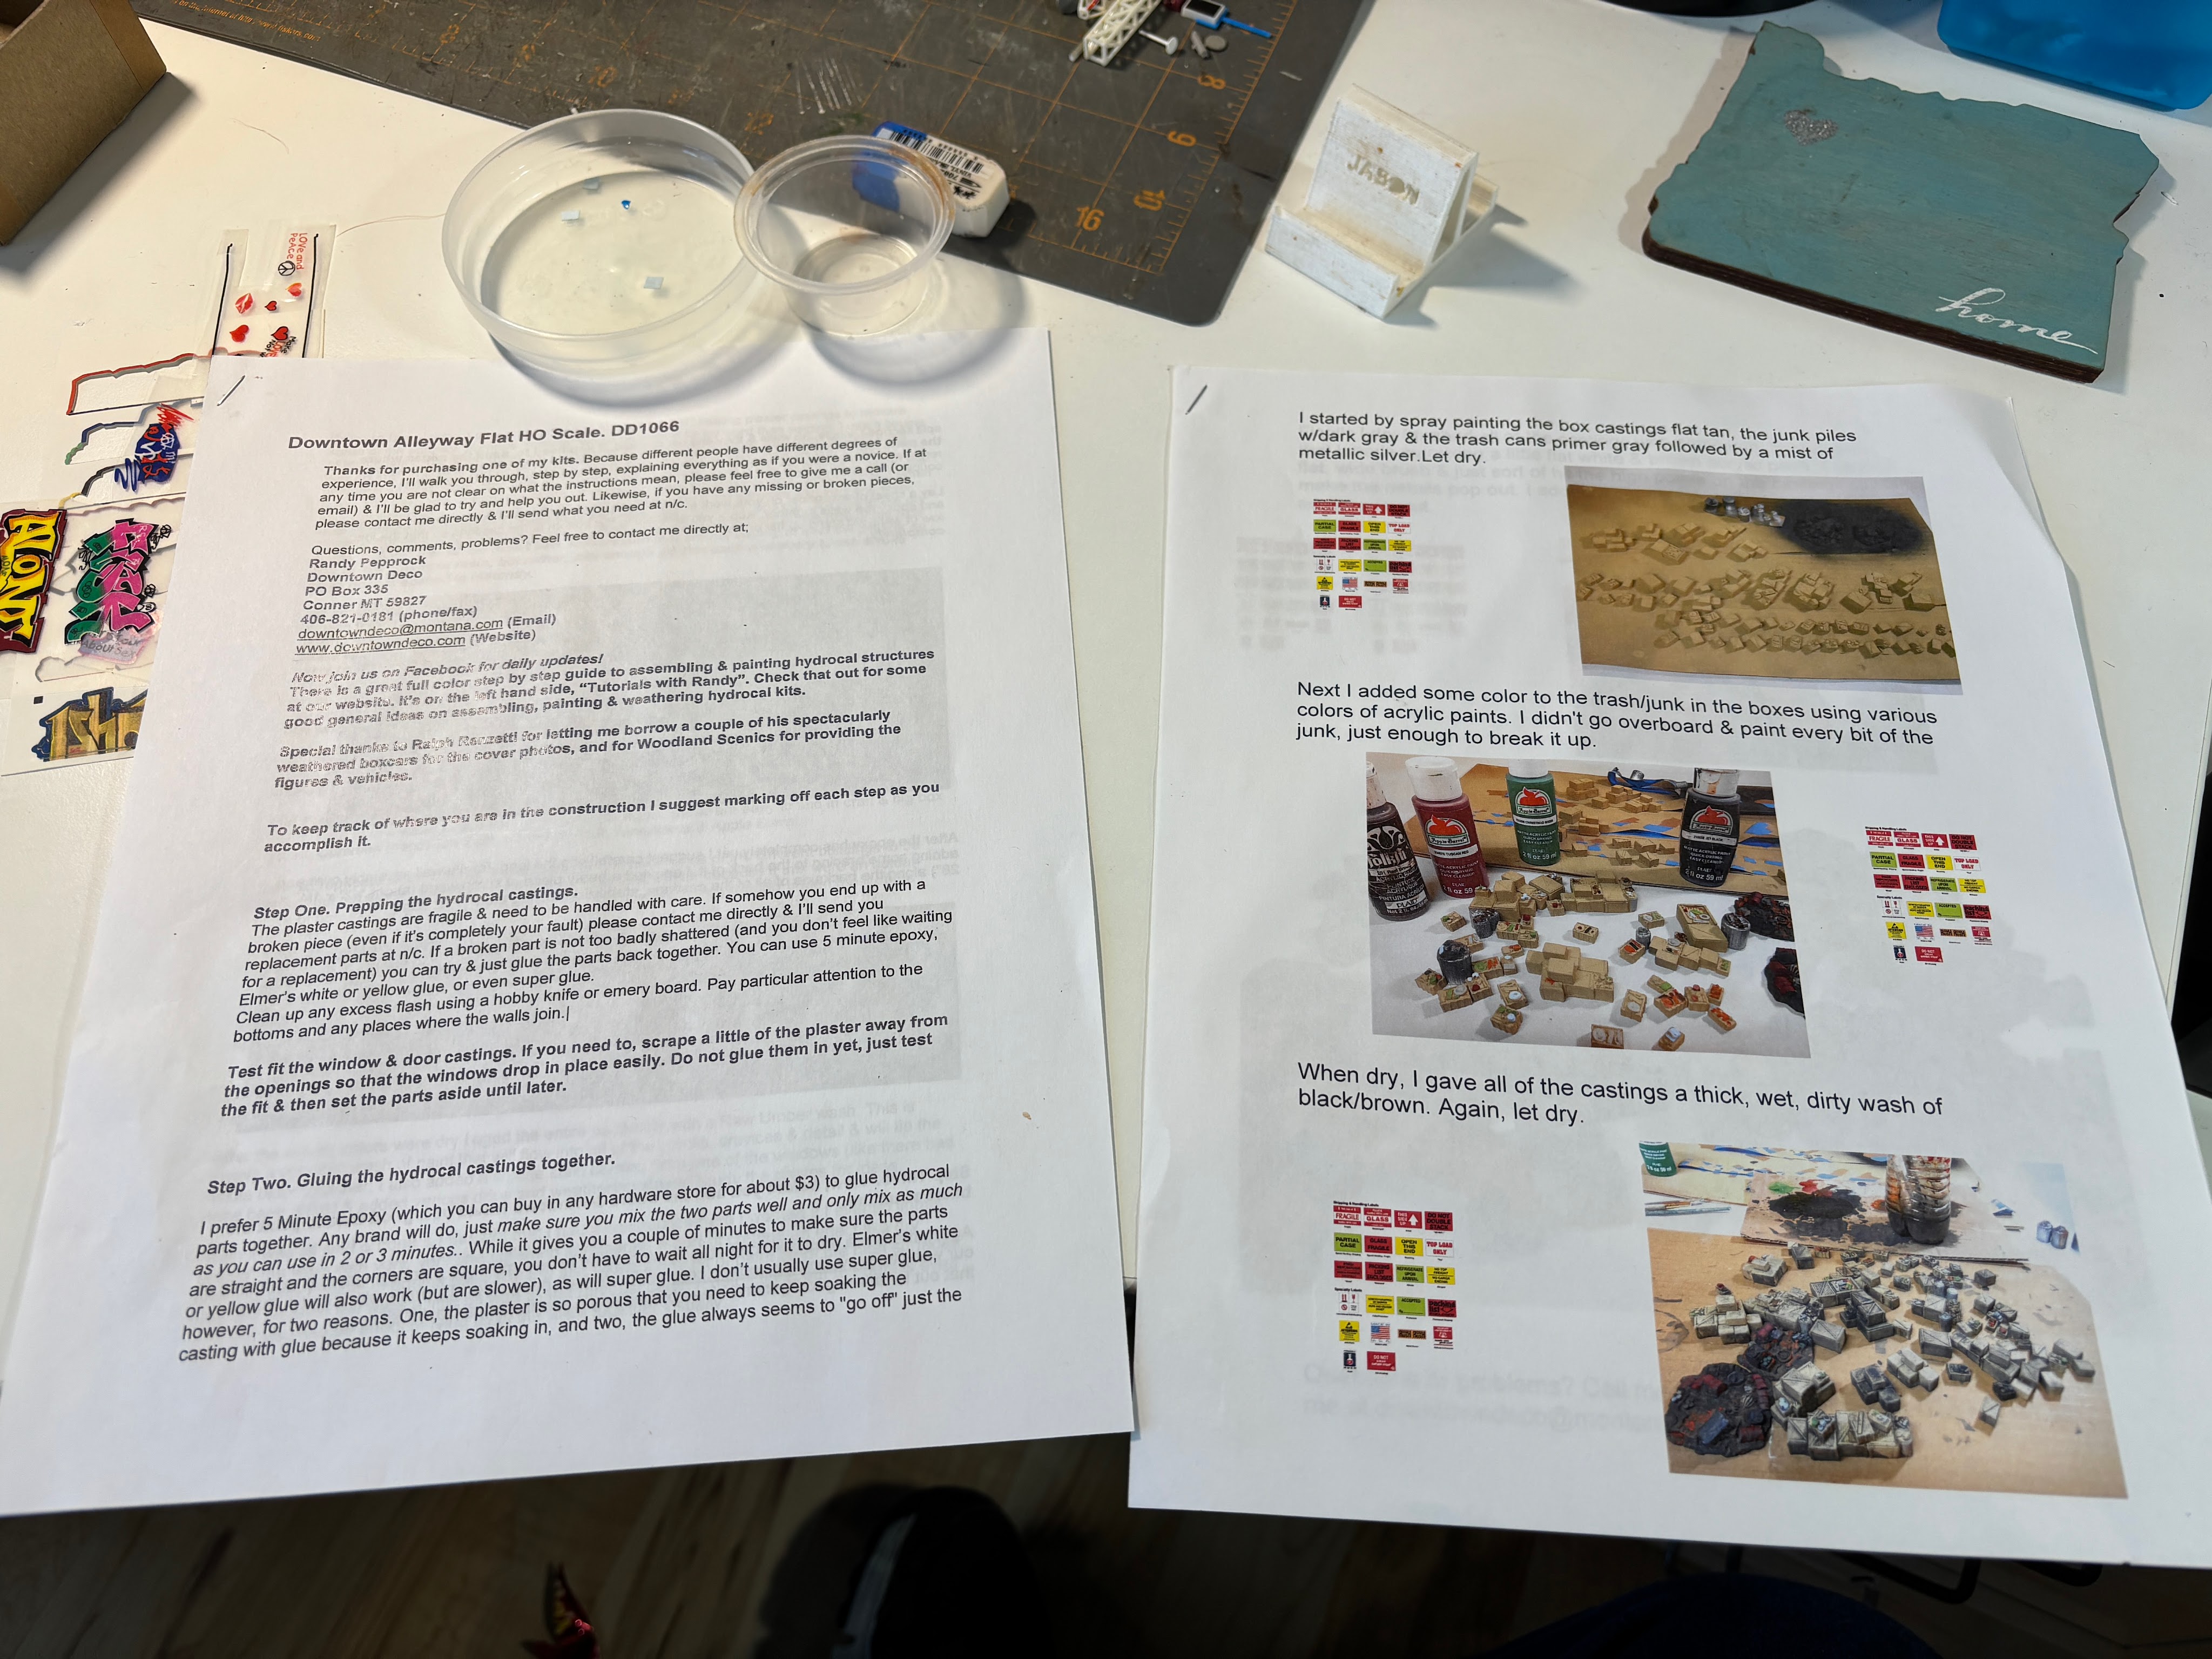
Several pages of detailed instructions and painting tips.
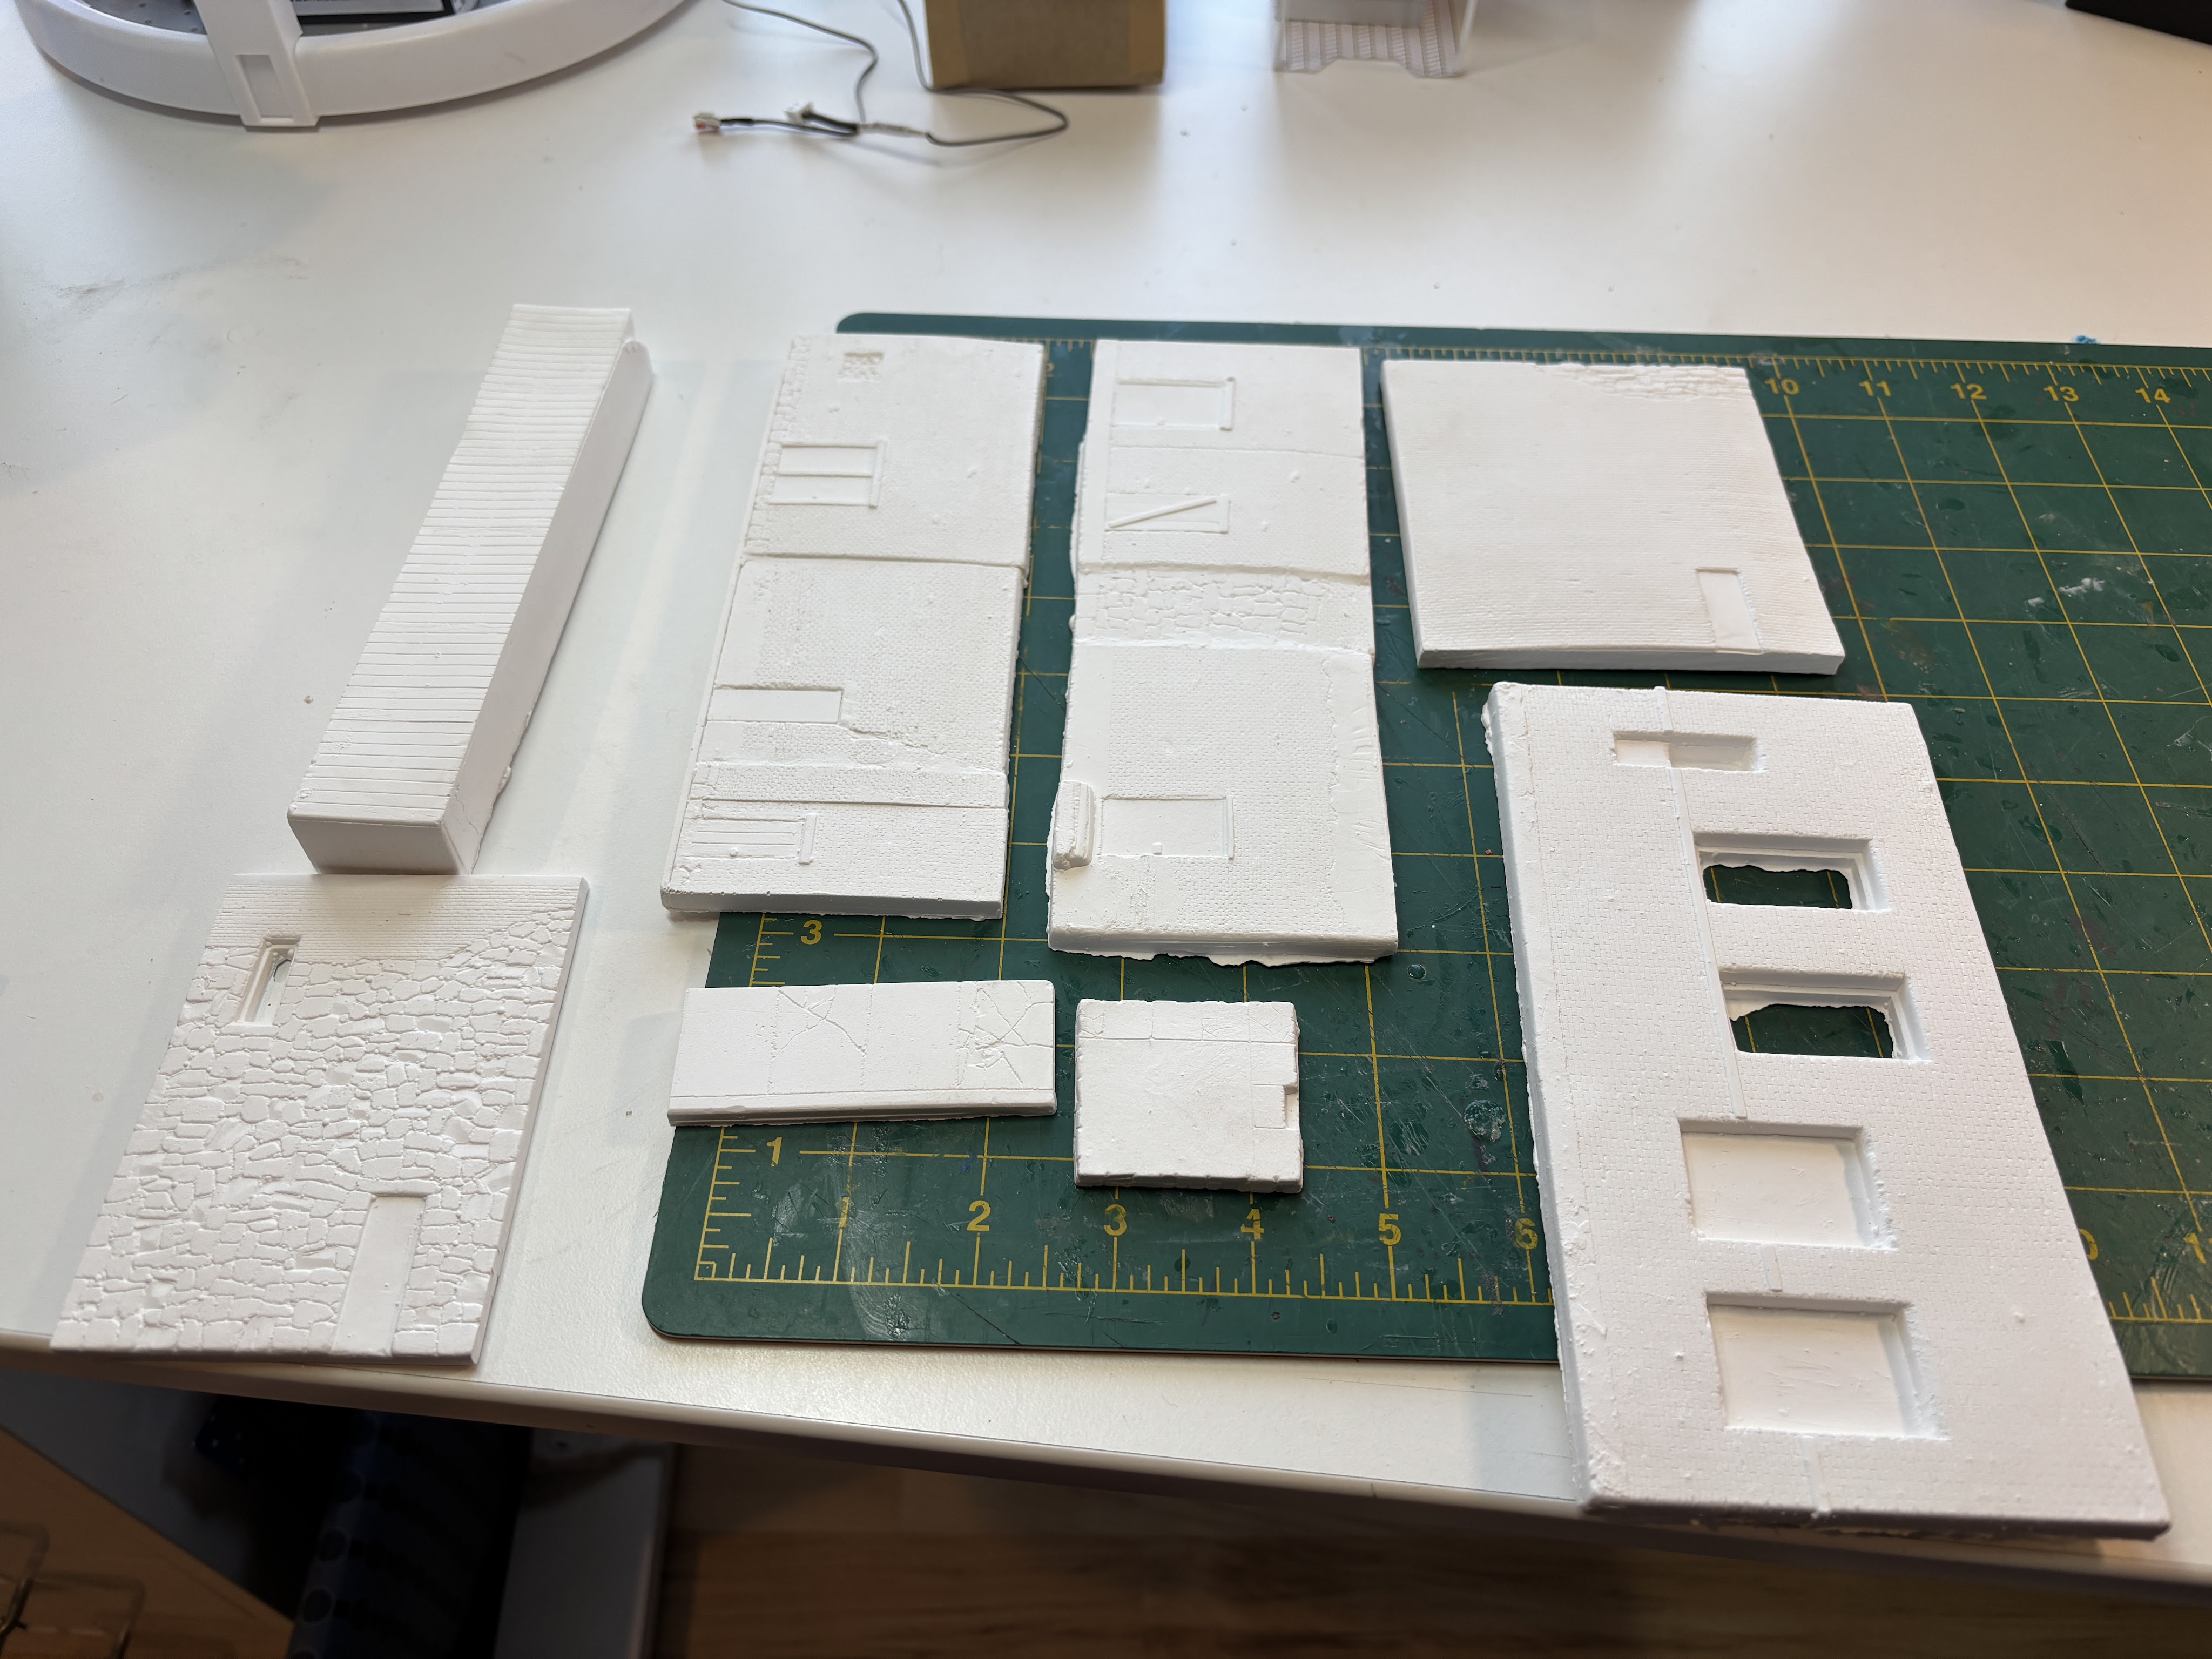
These are the plaster walls sections that represent several different businesses. Step 1 is to sand and clean all the flashing from the windows, doors and edges of the walls. Step 2 is to make sure the styrene windows and doors fit correctly. This took some additional sanding and shaving. I used a file and an old xacto knife for scraping.
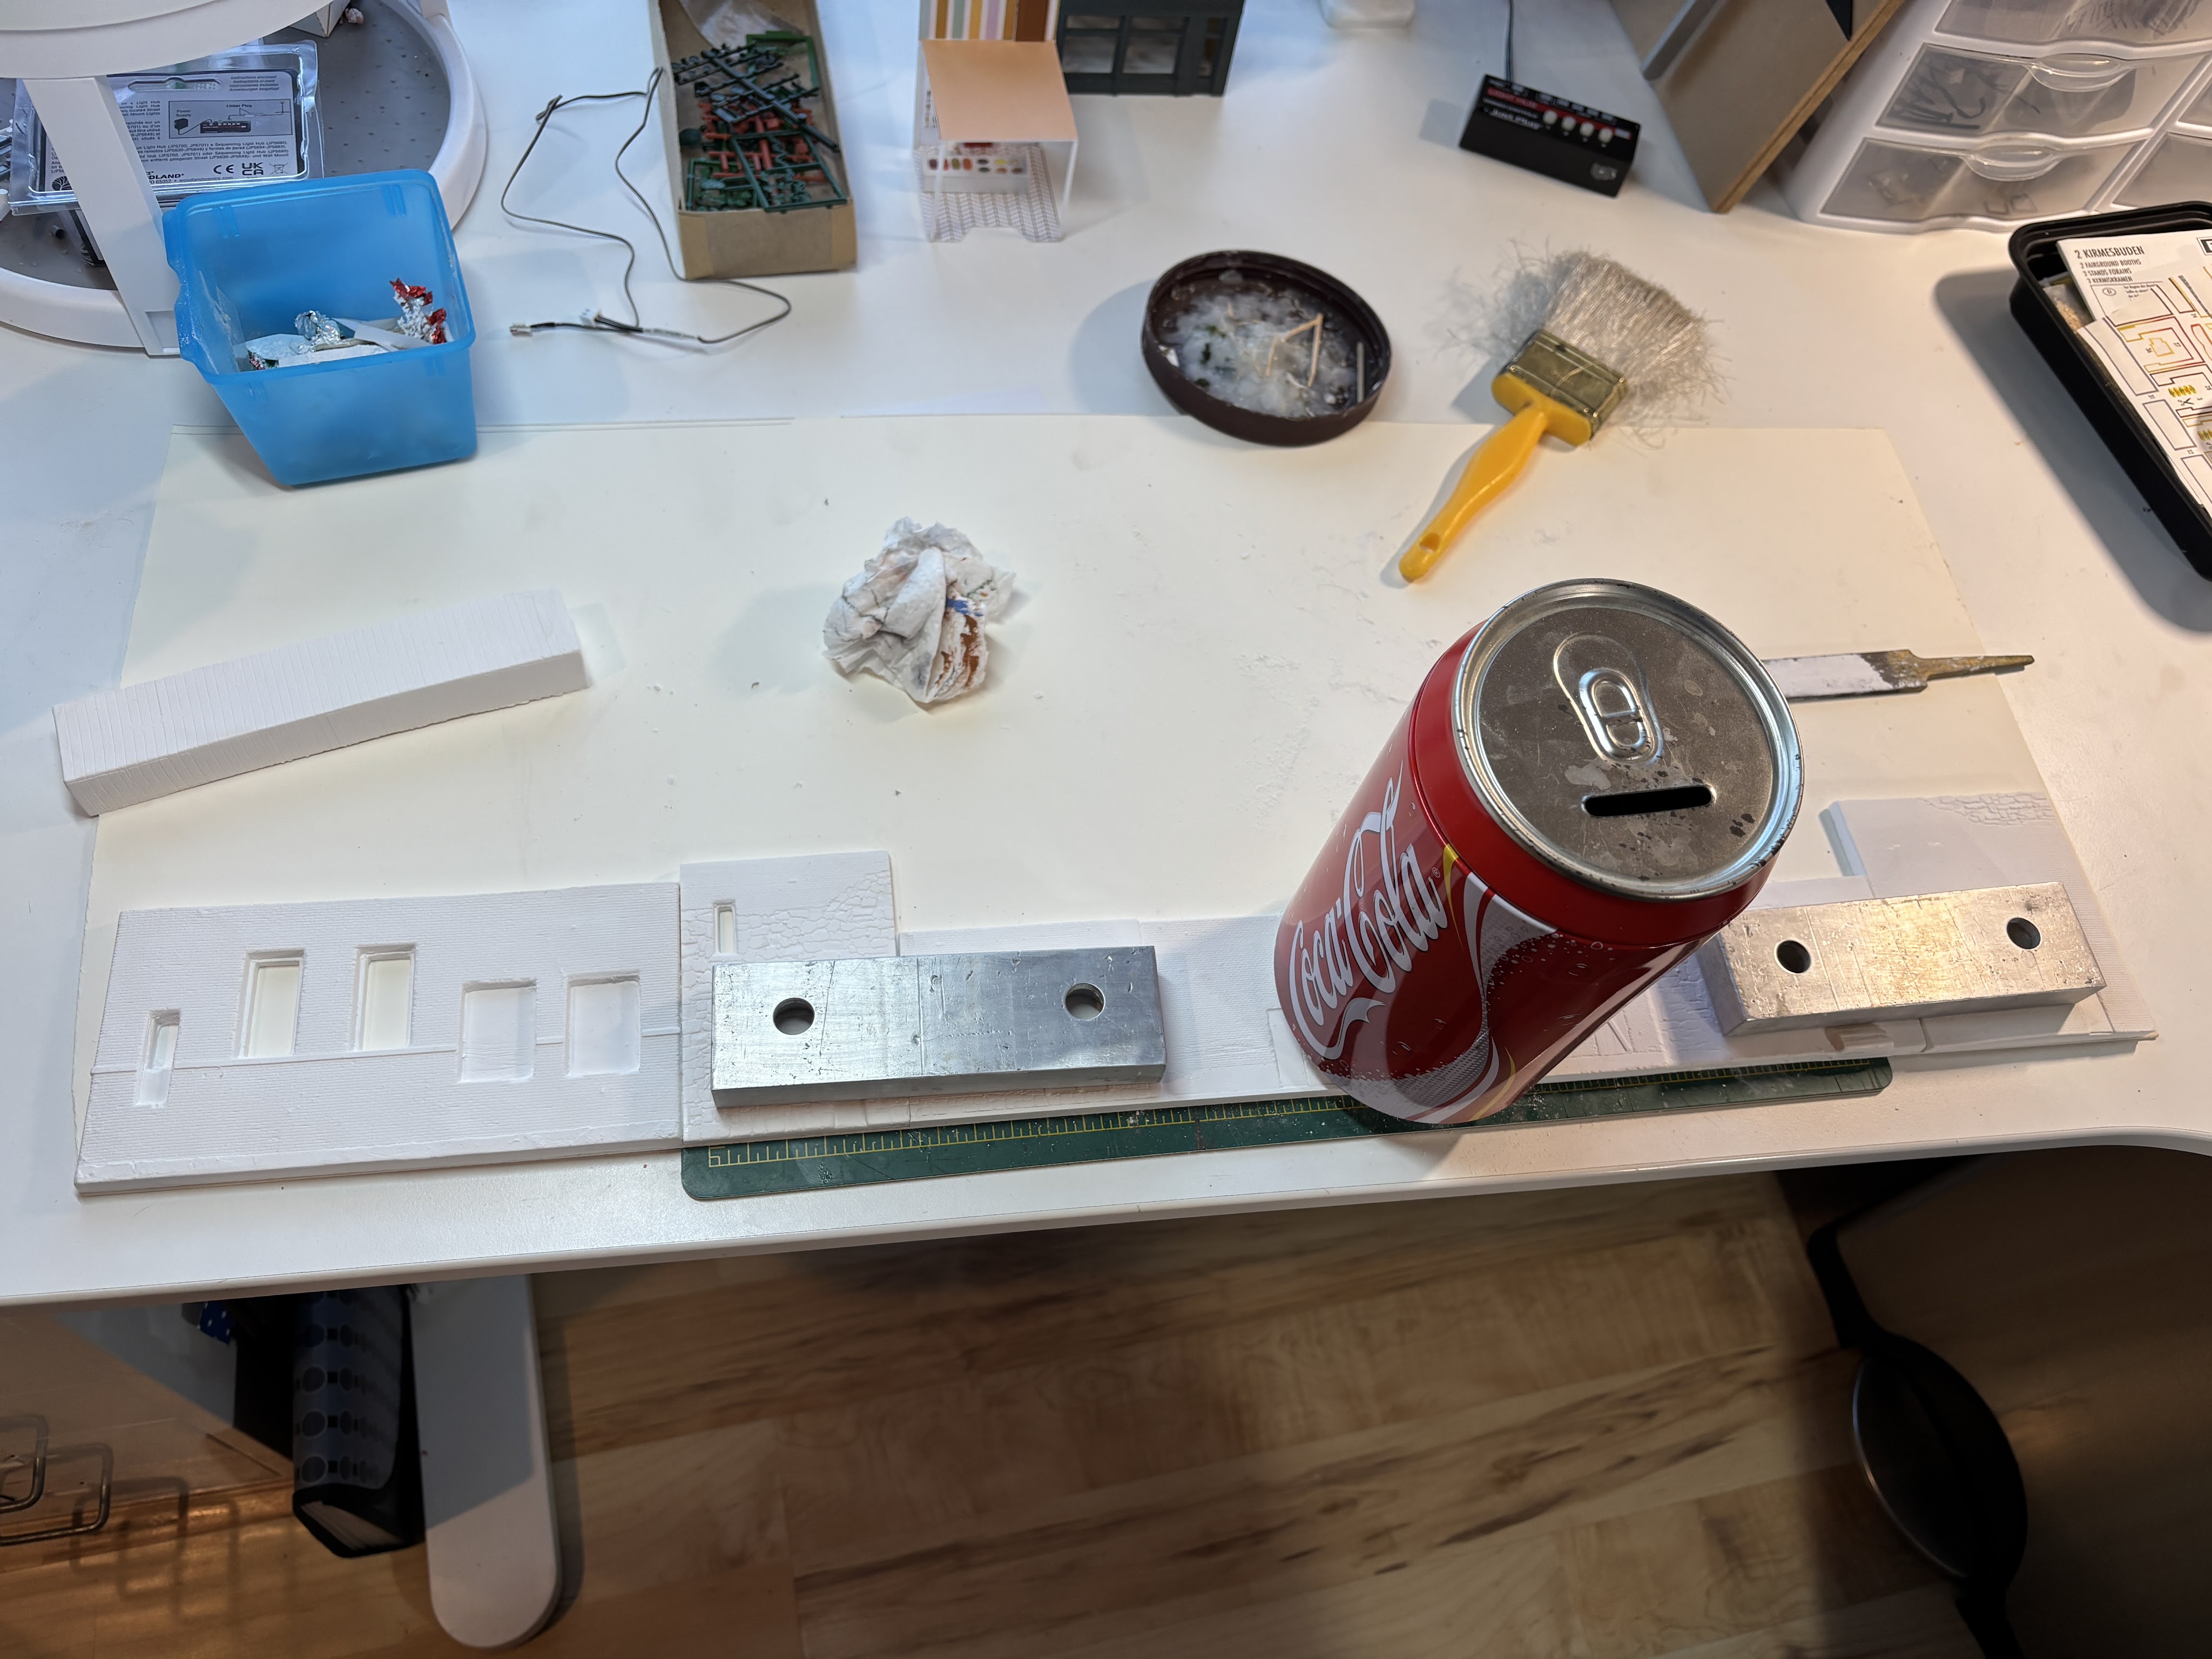
Once all the pieces are sanded, I dry fit all the wall sections to double check the fit. The instructions recommend a 2 part epoxy, white glue or wood glue. I chose to use Aleene’s Tacky glue. Once the walls are glued, the instructions recommend glueing a flat piece of wood to the back for support. I chose to glue the wall sections to foam core board while glueing the sections together. In the picture above, I have everything glued together and to the foam core board, with some weights to hold it down. When the glue dries, I will cut the foam core board around the wall sections.
Watch this page for Part 2 of this series…..
